Tuesday, 25 December 2012

Christmas Hand-made gift (part 1)

On Sunday 24th of June (2012) I started to think about Christmas, after all it was only six month's til Christmas Eve.  So like I always do I wrote and a list of people I needed to buy or make gifts for and wrote down the things they like.  I really wanted to make the gift's that had a little bit of love put into making the them, than those you buy in the shop's!

While surfing the net to find ideas - I came across a TY Beanie Baby of Mr Bean's Teddy. I first thought prefect, then saw the price near £6.00 - I was like I am not paying that! Like you do :-)  Then I wondered if there was a knitting pattern for Mr Bean's Teddy and yes there is.....

So I got my bag of wool out to find the colours out for Teddy
and my knitting needles and set to work.


I made Teddy for my brother as he love's Mr Bean film's and televison progamme's.
Also my brother about a month before had bought him self a Classic Austin Mini!

So I had decided to play on that fact! 

~~~~~~~~~~~~~~~~~~~~~~~ 

Thursday, 20 December 2012

Just wanted to wish everyone a 
Merry Christmas 
and a 
Happy New Year!

I am also sorry I have not done many post's! 
Has you can guess work and that have got in the way!!!

Wednesday, 28 November 2012

Little Flowers

Back in May while knitting the poppies.  I wondered what they may look like in different colour's!
So the next day I decided to have a day off from poppy making,  to experiment with 
different colours - also bright ones too!


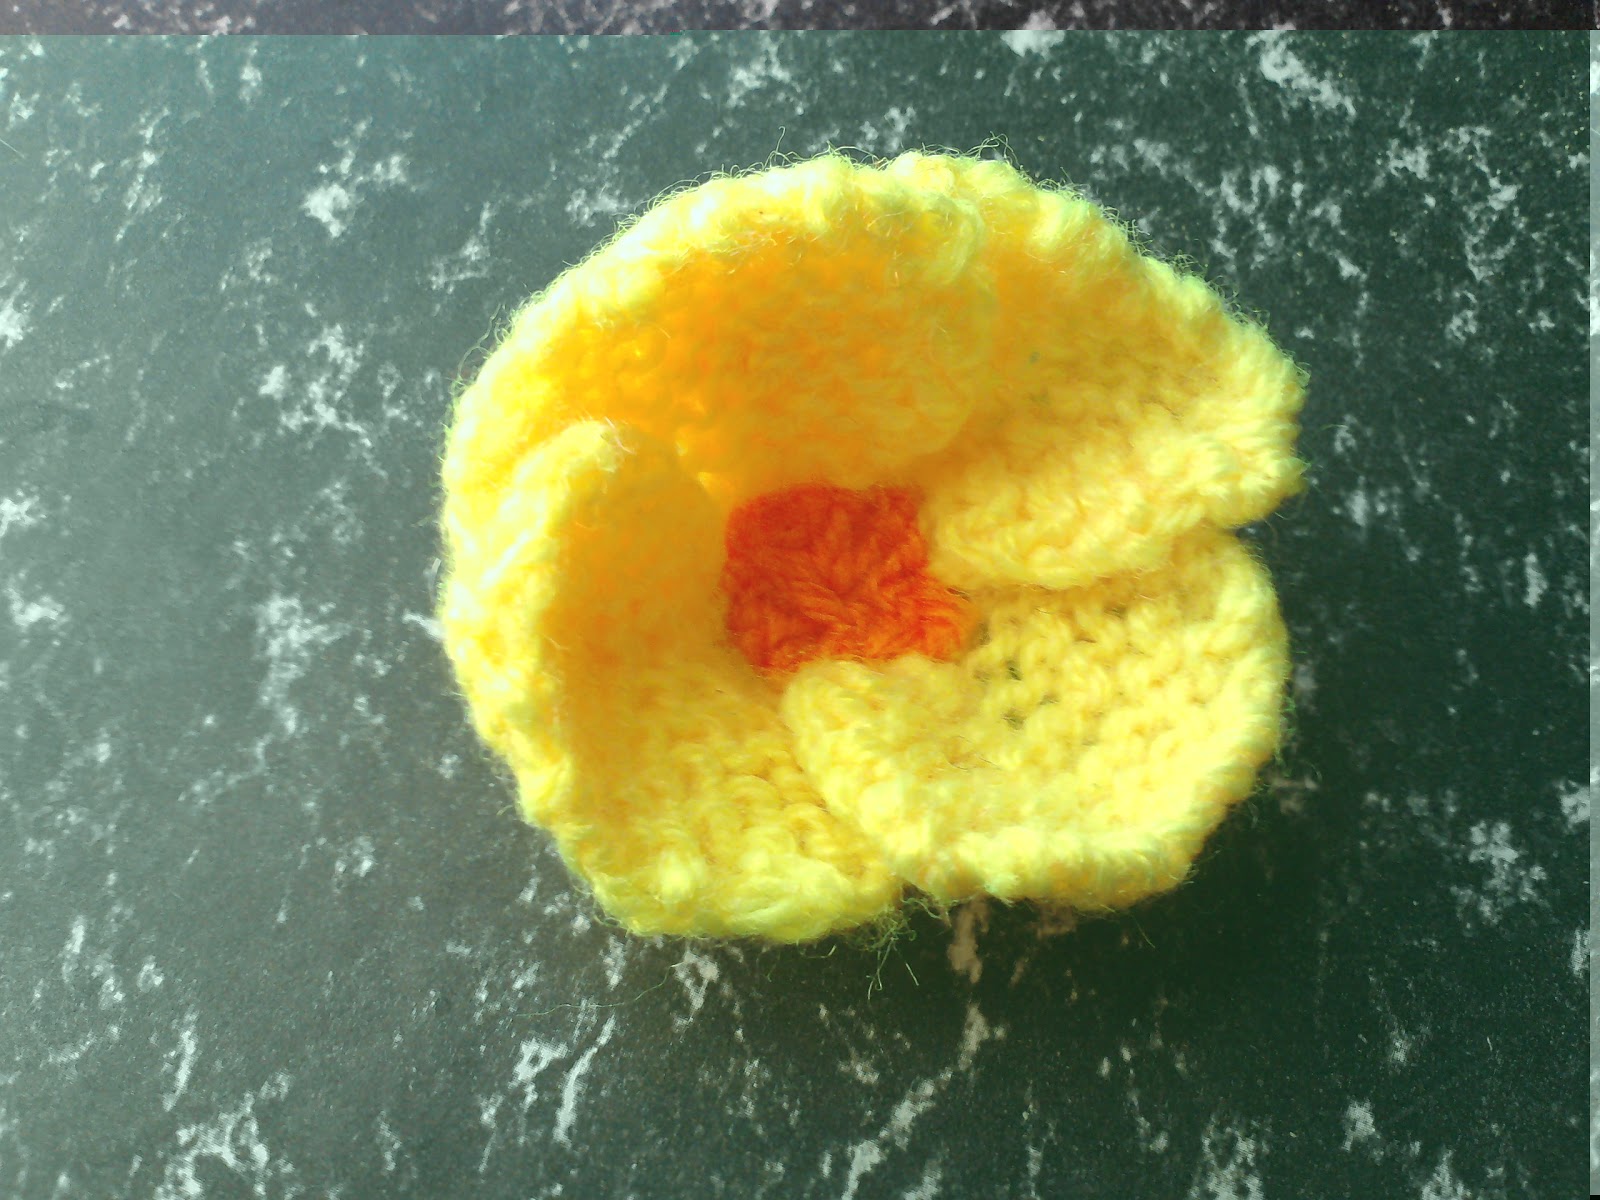
Here are some of the colours!


I have been thinking about ways to use them, apart from the brooch like way! I firstly thought of putting one on a Alice band and another one or three on a bag. 
Maybe even a charm or Keyring! 


I have not yet had chance to experiment on my ideas.   Due to work and family stuff!
So some think for me work on in the next few weeks! 


Monday, 26 November 2012

The Humble Poppy (Part 2)


I thought I would up-date you all on how we got on with the poppies!


The poppies went on sell at the end of October and within a few days they were sold out. My mum and I (plus some others) were busy knitting to try and keep up with the demands...

Over £1000 was raised and the money went to the poppy appeal..  So the race is on for next year to make enough and yep you guess it,  I've started already!

I will also keep you all posted how we do this year coming!!! 


Saturday, 22 September 2012

Mum's Cupcake Card!

The first week in August, I started to make notes and write down ideas of how I wanted my mum's birthday card to look.  I knew I wanted to make the card slightly different to what I have normally done in the past.


The picture below is how I wanted the card to look.


I also knew I wanted to put some sort of cupcake or rose on the card.  After making up my mind I decided on having a cupcake on the front as I was ordering a rose for my mum (Which you will be able to read about soon).

I set to work, gathering the materials I was going to use.  I already had the card stock and some of the paper I was going to use.  But I just did not have any cupcake items for card making.

So off I went into town, to see what I could find.  To my knowledge there is only about three places in the town, that sells card making stuff.  One of them is 'The Works'  ( which is a book/stationary/craft store ).  I got some new card and paper stock.  They also had some cupcake embellishments, but not really what I was looking for. 


So I popped into Wilko's to have a mooch round, while I was in there I found Dovercrafts Tea Party 8"x8" Glitter Decoupage pad.  I hummed and arr about getting the Tea party  
    pad, I even walked around the store.  Once I made up my mind I went back and pick it up  
    and went down to the checkout to pay! 


Once I got home I had to hide what I had just bought, as my mum was about.  I wait until mum had gone to bed before I could set to work, with making her birthday card.


I got out one of my already folder purple cards and placed it on the table.  I then folder the front of the card in half again, to make it look like this.

Once I had folded the card I then got out my section of girly gift wrap paper.  It took me a little while to work out which paper I was going to use.  I decided to use two of my gift wrap paper's.  First one is pink with a outline flowers and a pink check effect a bit like a table cloth.  The second one as 'mum' write on it - with bear's and flowers.  

After I had decided on which paper's I was going to use, I cutted them down to size.  I then got my trust worthy double sided sticky tape out and stuck the bears and flowers paper to the back flap of the card.  I did the same with the pink flower paper, but this time I stuck the paper to the front flap. 


Then I got out my Dovercraft Tea Party pad.  I decided to use the single cupcake topper in the pack.  So I pushed out the pieces to the cupcake and then I got out my double sided sticky tape pad's and layed the pieces up, to how I wanted it to look.

Once I had done that, it was time to stick the topper using double-sided sticky tape to the card! 


Mum loved the card I made her and also the rose I got her. 


Monday, 23 July 2012

Hi everyone!
I just want to say sorry if any of my post are mixed up.  The past few weeks I have been having trouble with the layout and saving. Im hoping and praying it will soon sort its self out!
Ever since the EDF energy bought out their new advert with their new little mascot Zingy. 
I fell in love with him -  I know most of the country also fell in love with Zingy.

If you have not ever seen Zingy before, below is a Video of him! 


                            ----------------

Since then I have wanted a soft toy of Zingy, I even went to the EDF energy web site.  To find out they have NO on-line shop and NO Zingy soft toy.  Which I think most of us have been to have a look.

A little while later I wondered if there was a knitting pattern for Zingy.  So I went on-line to search and Bingo!!!  I found one but you had to pay for the pattern, and I was not going to do that.  Then after re-searching again I found another one, a free knitting pattern.  But you had to knit Zingy on round needle's, which I have not yet used.

So I decided to change the pattern so I could use two normal knitting needles.  I used 3¼ needles for the body, eye's and 2¼ needle for the nose.

Pattern for Zingy

  • Using 3¼ needles - Cast on 9sts in the colour for the body
  • Row 1: Inc into every stitch, until you have 18sts
  • Row 2: Knit
  • Row 3: Inc into every stitch, until you have (36sts)
  • Row 4: Knit
  • Row 5: Knit
  • Row 6: Knit
  • Row 7: Knit
  • Row 8: Knit
  • Row 9: Knit
  • Row 10: Knit
  • Row 11: Knit
  • Row 12: Knit
  • Row 13: Knit
  • Row 14: Knit
  • Row 15: Knit
  • Row 16: Knit
  • Row 17: Knit
  • Row 18: Knit
  • Row 19: Knit
  • Row 20: Knit
  • Row 21: Knit
  • Row 22: Knit 2together all along row, until you have 18sts
  • Row 23: Knit
  • Row 24: Knit 1, Knit 2together all along row, until you have 12sts
  • Row 25: Knit
  • Row 26: *Knit 1, Inc; repeat from * until you have 18sts
  • Row 27: Knit
  • Row 28: *Knit 2, Inc; repeat from * until you have 24sts
  • Row 29: Knit
  • Row 30: *Knit 3, Inc; repeat from * until you have 30sts
  • Row 31: Knit
  • Row 32: *Knit 4, Inc; repeat from * until you have 36sts
  • Row 33: Knit
  • Row 34: *Knit 8 , Inc; repeat from * until you have 40sts
  • Row 35: Knit
  • Row 36: Knit
  • Row 37: Knit
  • Row 38: Knit
  • Row 39: *Knit 8 ,knit 2together, repeat from * until you have 36sts
  • Row 40: Knit
  • Row 41: *Knit 4, knit 2together, repeat from * until you have 30sts
  • Row 42: Knit
  • Row 43: *Knit 3, knit 2together, repeat from * until you have 24sts
  • Row 44: Knit
  • Row 45: *Knit 2, knit 2together, repeat from * until you have 18sts
  • Row 46: Knit
  • Row 47: *Knit 1, knit 2together, repeat from * until you have 12sts
  • Row 48: Knit
  • Row 49: *Knit 2together, repeat from * until you have 6sts
  • Row 50: Knit
  • Row 51: Knit
  • Row 52: Knit 1 , Knit 2together, Knit 1, Knit 2together, until you have 4sts
  • Row 53: Knit
  • Row 54: Knit 2together until you have 2sts
  • Then thread the end thorough the 2stitches!

Eye's - you will need to make two!


  • Using 3¼ needles Cast on 15 stitches in white
  • Row 1: Knit
  • Cast Off
  • Using 2¼ needles - Cast on 5 stitches in black for the Centre of the eye!
  • Cast off


Nose
  • Using 2¼ needles - Cast on 2 stitches in black
  • Row 1: Knit
  • Row 2: Inc into every stitch until you have 4sts
  • Row 3: Knit 2togther, twice, 2sts
  • Cast off

How to make up Zingy

The Body

  1. Take the body and sew from the top of the head using invisible stitching. Until you get to the bit the goes in (I call it the neck) before the body.
  2. Using toy stuffing, stuff the head - until you are happy with it.
  3. Change ends and start sewing from the bottom end of the body, still using the invisible stitching. Until you have a opening in the back of him.
  4. Then finish stuffing him. While doing this remember to shape as you go.
  5. Once you have done that finish sewing up.
The eye's and nose


  1. Take one of the white piece’s and sew while curling it flat. Do the same for the other white piece, so you have two white circles.
  2. Do the same with the black piece’s., so you have two black circles.
  3. Take one white and one black circle and sew the black circle onto the white one, to make an eye! Do the same with the other white and black circle.
  4. Sew the eyes onto the head of the body.
  5. Sew the nose just below the eyes on the head.
Your Zingy should look like this!


<   Please don’t to the same mistake as me
and knit the black bits of the eyes on 3¼.
I have made another one but just need to get some more toy stuff
___________________________________


      Just like in the advert Zingy loves the computer.
      I caught him the other night checking out my twitter page!  You can follow me on twitter


      Please let me know what you all think? or How you get on with making your very own Zingy?